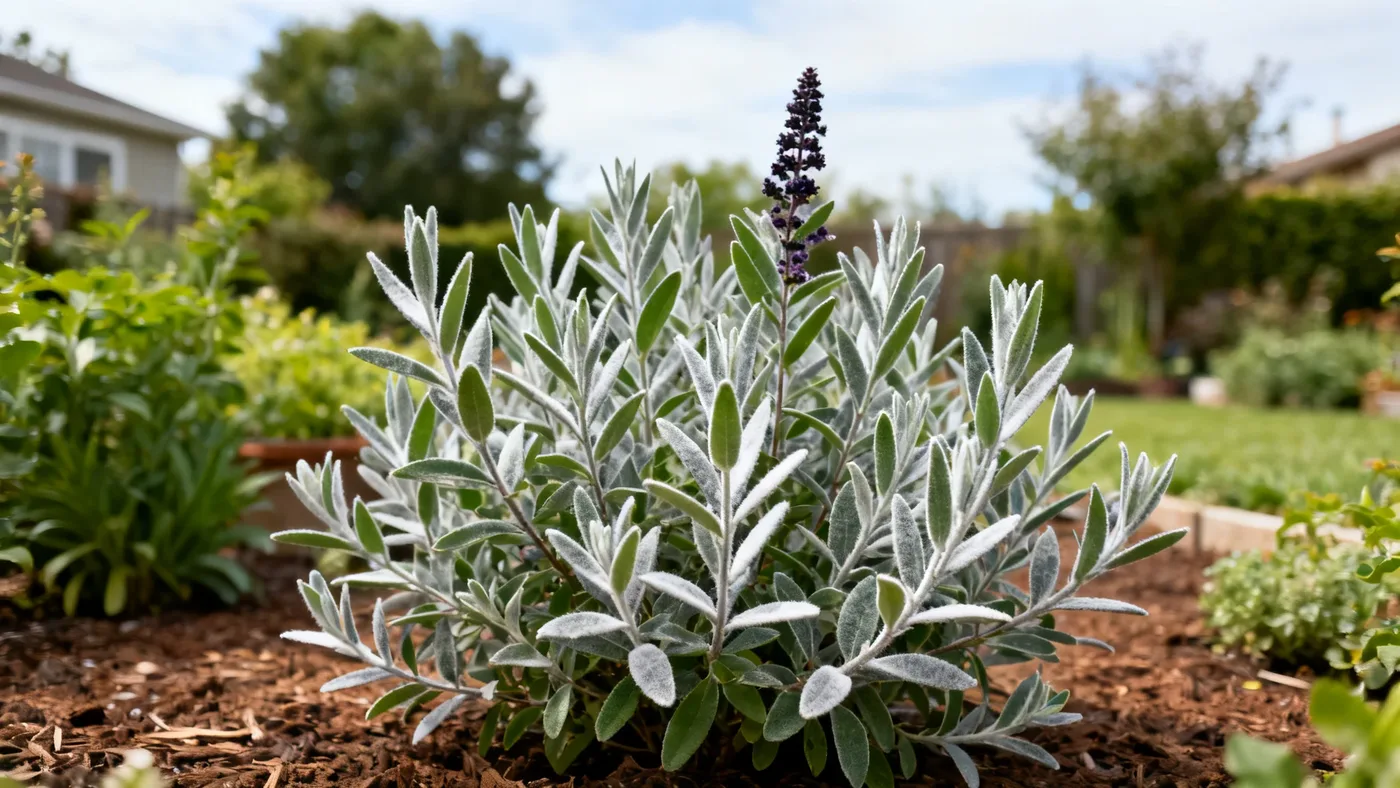
Winter Care for Black Knight Butterfly Bush in Cold Climates
Black Knight Butterfly Bush grows vigorously through summer, producing deep purple flowers from June through September. But as temperatures drop, your plant's survival and comeback depend on what you do in late fall and early winter. The good news: Black Knight Buddleja is hardy in zones 5 through 9, though the level of winter protection you need shifts sharply by zone.
In zones 7 through 9, your Black Knight will likely return each spring with minimal fuss. In zones 5 and 6, expect the plant to die back to the ground most winters, regrowing from the roots as a shorter, more herbaceous shrub. Neither outcome is a failure. Both are normal. This guide walks you through zone-specific strategies to keep your plant healthy through the cold months and set it up for strong regrowth.
Understanding Black Knight Butterfly Bush Winter Dieback
The first step is accepting what happens naturally. In zones 5 and 6, Black Knight Butterfly Bush typically dies back to the ground when temperatures stay well below freezing. This is not cold damage you can prevent, but rather the plant's normal response to harsh winters. The roots survive, and new growth emerges from the base in spring.
In zones 7 through 9, the woody stems often persist above ground, and the plant regrows from buds along those stems. You will still see a significant die-back of the current year's growth, particularly the soft tips. Expect 1 to 2 feet of stem loss at the top, even in the mildest years.
Why does this matter? Because your winter care strategy depends on your zone. If you live in zone 5 or 6, protection means insulating the crown and roots to preserve them through deep cold. If you live in zone 7 or higher, protection means helping the plant transition dormancy with less stress. Both approaches share the same core steps, which you can adjust based on your local climate.
Materials You Will Need
- Mulch, 3 to 4 inches deep (shredded bark, aged compost, or pine needles)
- Garden stakes or a wooden frame, if building a protective cage
- Burlap or frost cloth, optional, for zones 5 and 6
- Pruning shears, sharp and clean
- Pruning saw, if cutting back to thick woody stems
- Heavy gloves for pruning work
- Loppers, for thicker stem removal
Step-by-Step Winter Protection for Black Knight Butterfly Bush
Step 1: Time Your Cleanup (Late Fall, After First Hard Frost)
Wait until after the first hard frost, when temperatures dip into the 20s or lower Fahrenheit. Do not cut back your plant in early fall, even if you see browning at the tips. The foliage, though damaged-looking, still protects the woody stem underneath. Let the plant go dormant naturally.
A hard frost does not mean one cold night, it means sustained freezing temperatures that kill back the herbaceous growth. This usually occurs in late October or November, depending on your exact location. Once you see the foliage turn brown and papery, and frost damage is visible, you can proceed.
Step 2: Cut Back Dead and Weak Wood (Zones 7-9)
In zones 7 through 9, where woody stems often survive winter, prune back dead tips and frost-damaged growth. Remove any stems that are clearly dead, black, or mushy at the core. Use sharp pruning shears and cut at a 45-degree angle, about a quarter inch above a healthy bud or branch junction.
For stems with frost damage only at the tips, cut back to living wood. You can usually identify living wood by the green color inside when you make a small cut. Dead wood will be brown or black throughout. Leave the sturdy, healthy stem structure in place. This framework helps the plant regrow evenly in spring and provides some cold insulation.
Step 3: Cut to Ground Level (Zones 5-6)
In zones 5 and 6, the most reliable approach is to cut the entire plant to the ground or to 12 to 18 inches above the soil line. You can cut lower, down to 2 to 3 inches, if you prefer. The roots and crown will regrow from the base, and you will get a fresh, compact plant the next season.
Use a pruning saw or loppers to cut through thick woody stems. Work from the outside in, removing whole canes to open up the center and reduce the visual bulk of the plant. This clearance also improves air circulation and reduces the risk of disease during winter dormancy.
Step 4: Clear Away Fallen Debris
Once you have cut back the plant, rake away any fallen leaves, broken branches, and debris around the base. Do not leave a pile of organic matter right at the crown, as it can trap moisture and promote rot. A clean base also makes it easier to apply protective mulch in the next step.
Step 5: Apply Mulch Around the Crown (All Zones)
This is the single most important step for winter protection. Mulch insulates the roots and crown, moderating soil temperature swings and protecting from hard freezes.
Mound mulch 3 to 4 inches deep around the base of the plant, starting about 2 to 3 inches away from the stem to avoid crown rot. Do not pile it against the stem itself. Shredded bark, aged compost, and pine needles all work well. Organic mulches break down over the season and enrich the soil, so they serve double duty.
In zones 5 and 6, you can extend mulch coverage slightly wider and a bit deeper if you want to provide extra insulation. Some gardeners mound it to 5 or 6 inches in the harshest microclimates, which is fine as long as you pull it back by early spring to let the soil warm.
Step 6: Optional: Build a Protective Cage (Zones 5-6)
If you live in zone 5 or in a particularly exposed, windswept location, you can build a simple frame around the plant and wrap it with burlap or frost cloth. This is not necessary for survival, but it can reduce wind damage and moderate temperature swings.
Use four wooden stakes to create a square or circle around the plant, about 2 to 3 feet wide. Wrap burlap around the stakes and secure it with twine. Drape the top loosely, leaving the center open so air can circulate. On very cold nights, you can drop a cloth over the top, but remove it on sunny days to prevent overheating.
Do not seal the plant completely in plastic, which can trap moisture and cause fungal problems. Burlap or frost cloth breathes better and is the safer choice.
Step 7: Monitor Spring Regrowth (Late Winter to Early Spring)
Starting in late February or early March, depending on your location, keep an eye out for new growth at the base of the plant. Green shoots or leaf buds emerging from the roots or lower stems are a sign that the plant survived winter. This is normal and exciting, even if the upper stems still look completely dead.
Leave the protective mulch in place until you see sustained growth. Once soil temperatures warm and new shoots are clearly growing, pull the mulch back about 6 inches from the crown to let the soil warm faster. You can leave a 1 to 2 inch layer of mulch for moisture retention through spring and summer.
Tips and Common Mistakes to Avoid
Mistake: Pruning too early in fall. Cutting your Black Knight back in September or early October removes the foliage that protects the stems from early cold snaps. Wait for a hard frost to trigger dormancy first.
Mistake: Piling mulch against the stem. Mulch pushed tight against the woody stem traps moisture and can cause rot at the crown. Always keep a 2 to 3 inch gap between the mulch and the stem.
Mistake: Leaving old growth on the plant in zones 5 and 6. If you do not cut back, the plant wastes energy trying to protect woody growth that will die anyway, and regrowth will be weaker and slower in spring. In these zones, cutting to the ground is more reliable than hoping the stems survive.
Tip: Mark the location in late fall. If your plant dies back completely to the ground, it can be hard to remember exactly where it is when snow falls. A garden stake or small marker at the plant's base prevents you from accidentally digging it up or stepping on it.
Tip: Hardwood cuttings taken in fall can root indoors. If you want backup plants or are worried about total loss, you can take 6 to 8 inch hardwood cuttings from healthy stems in late November or December, stick them in moist potting mix, and keep them cool but not frozen over winter. Many will root and give you young plants by spring.
Tip: Check soil moisture in winter. Even dormant plants need some water. If you have a dry winter with little snow, water the plant occasionally on mild days to keep the roots from drying out completely. Do not overwater, but do not neglect it either.
Expected Results
If you follow these steps, you can reasonably expect your Black Knight Butterfly Bush to survive winter and regrow in spring, even in cold climates. In zones 7 through 9, you will likely see the plant regrow from existing stems, producing a fuller plant by mid-summer. In zones 5 and 6, expect the plant to regrow from the roots as a younger, more compact shrub. Growth in the first season after a severe dieback may be slightly slower than the previous year, but the plant typically catches up by year two.
By mid-summer, the plant will begin flowering again, producing new blooms from late June through September. Once established, Black Knight Butterfly Bush is quite cold-hardy and becomes increasingly vigorous with each passing year, so winter protection is an investment in long-term garden performance.
For more detailed information on caring for this plant year-round, see the complete Black Knight Butterfly Bush care guide.
Winter Care Quick Reference
| Zone | Typical Winter Response | Pruning Approach | Mulch Depth | Protective Frame |
|---|---|---|---|---|
| 5-6 | Dies back to ground | Cut to 12-18 in. or ground level after hard frost | 3-4 in. (up to 5-6 in. optional) | Optional, recommended |
| 7-8 | Partial dieback, stems survive | Remove dead tips and weak wood after hard frost | 3-4 in. | Not needed |
| 9 | Minimal dieback, mostly evergreen | Light cleanup, remove dead branches only | 2-3 in. | Not needed |
Winter Care Checklist
- Wait for first hard frost before pruning
- Cut back dead and frost-damaged growth
- In zones 5-6, cut to ground or 12-18 inches
- Clear fallen leaves and debris from around the plant
- Apply 3-4 inches of mulch around the crown, leaving 2-3 inches from the stem
- Optional: build a burlap-wrapped protective frame in zones 5-6
- Monitor for spring growth in late February and March
- Pull back mulch when new shoots are growing, leaving 1-2 inches
- Water occasionally on mild winter days if snow is scarce