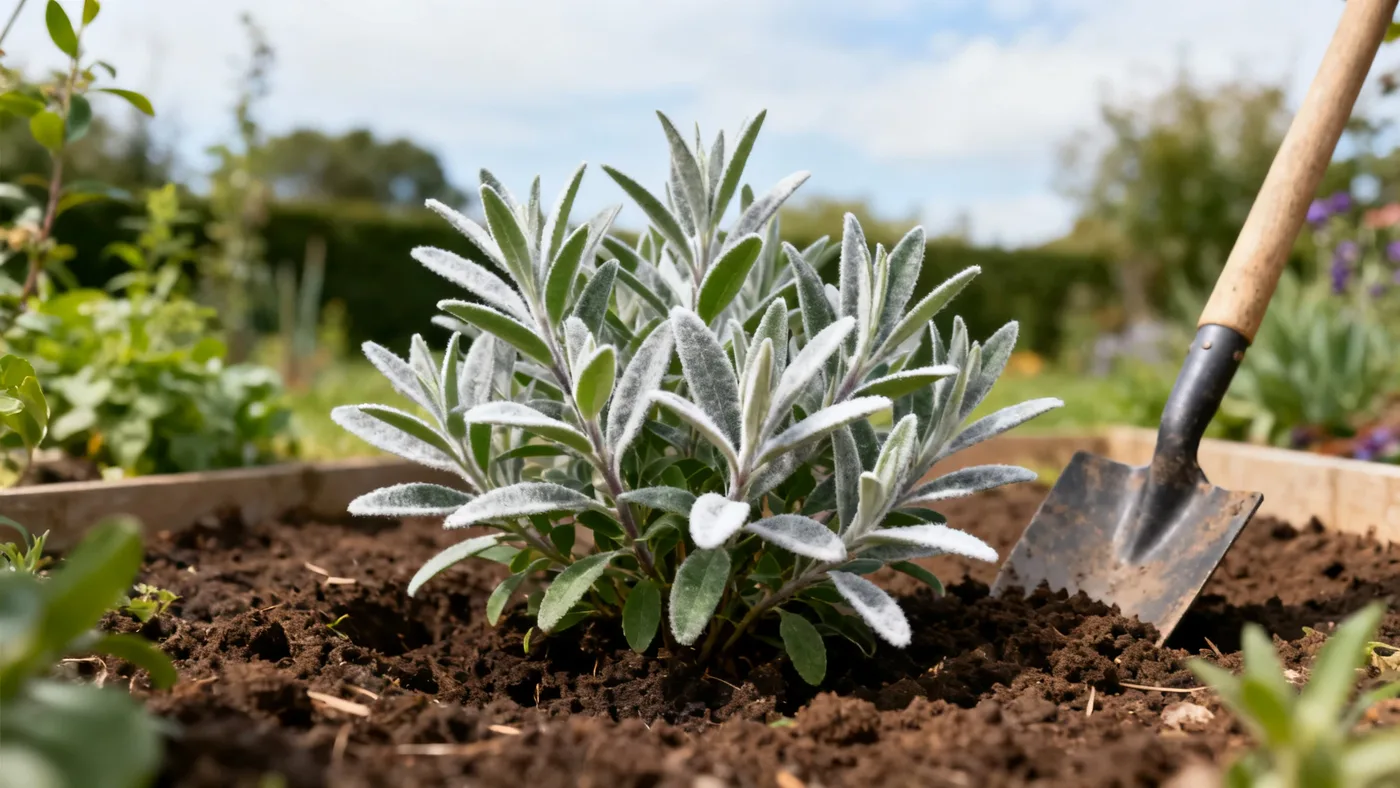
How to Plant a Black Knight Butterfly Bush the Right Way
Planning to add a Black Knight Butterfly Bush to your garden? You're choosing a shrub that will reward good planting technique with years of deep purple flowers and visiting butterflies. Getting the planting right from day one makes all the difference in how quickly your plant establishes and how vigorously it grows. This guide walks you through the entire process, site selection to final backfill, with the specific spacing, timing, and depth figures you need.
When to Plant a Black Knight Butterfly Bush
Timing matters more than you might think. Plant Black Knight Butterfly Bush in spring after your last frost date, or in early fall to give the roots time to establish before winter cold. Spring planting in zones 5 and 6 is usually safer because it gives the plant a full growing season to develop roots before its first hard freeze. If you're in zones 7 through 9, early fall planting works well and the plant often has time to settle in nicely.
Check with your local cooperative extension for your region's exact last frost date. A quart-size or #1 container can go in the ground once nighttime temperatures stay above freezing and the soil is workable. Never plant into frozen or waterlogged soil, even if the calendar says spring has arrived.
Site Selection and Soil Preparation
Black Knight Butterfly Bush needs full sun: at least 6 to 8 hours of direct sun daily for best flowering. Part shade will reduce bloom, so scout your planting location and watch the light patterns throughout the day. A spot on the south or west side of your home often works well.
Soil quality matters less than drainage. The plant tolerates poor and sandy soils, but it absolutely dislikes constantly wet feet. If your soil drains slowly or stays boggy after rain, dig a drainage test hole: fill it with water and watch how long it takes to empty. If water is still standing after 12 hours, that spot is too wet. Work in coarse sand or small pebbles to break up clay, or choose a raised bed or sloped location where water moves away.
Soil pH should be between 6.0 and 7.5 for best results. Most home gardens fall within that range, so a full soil test is optional unless your plants chronically struggle. Average garden soil, even slightly poor soil, is fine. Avoid fresh compost or overly rich amendments; they push leaf growth at the expense of flowers.
Materials and Tools You'll Need
- Spade or shovel for digging
- Measuring tape to check hole size
- A bucket for water
- Mulch (wood chips or shredded bark, 2 to 3 inches deep)
- A balanced fertilizer (optional, for spring planting)
- Work gloves
- Your Black Knight Butterfly Bush in its nursery container (usually quart, #1, or #3 size)
If your soil is heavy clay, have coarse sand or perlite on hand to mix in. If the planting area is very weedy, cardboard or landscape fabric will help suppress competition.
Step-by-Step Planting Instructions
Step 1: Prepare the Planting Hole
Dig a hole that is as deep as the root ball of your nursery plant and about twice as wide. If your root ball is 8 inches across, your hole should be roughly 16 inches across. This wider hole gives roots room to spread into loose soil during the first season, which accelerates establishment.
Do not dig the hole deeper than the root ball height. A common mistake is burying the plant too deep, which can invite root rot in poorly drained sites. The top of the root ball should sit level with or just slightly above the surrounding soil.
Step 2: Water the Nursery Container
Before you lift the plant from its pot, water it thoroughly. This makes the root ball stick together and reduces transplant shock. Let excess water drain from the pot while you finish your hole prep.
Step 3: Remove and Loosen the Root Ball
Gently slide the plant out of its nursery container. If it sticks, run a knife around the inside edge of the pot or set the container on its side and gently roll it to loosen the root ball. Do not yank the plant by the stem.
Once out of the pot, use your fingers or a small tool to loosen the outer inch or so of the root ball. If roots are tightly wrapped, make three or four vertical cuts down the sides, stopping before you reach the center. This signals roots to grow outward into the surrounding soil instead of continuing to circle.
Step 4: Set the Plant in the Hole
Place the loosened root ball in the center of your hole. The top of the root ball should be level with the soil surface. If the plant sits too deep, add soil beneath it. If it sits too high, remove a bit of soil from the bottom of the hole. Step back and eyeball it: the plant should look like it's sitting at the same depth it was in its nursery pot, not sinking or floating above the hole.
Step 5: Backfill and Firm the Soil
Return the soil you removed to the hole, breaking up any large clods as you go. Amend the backfill with coarse sand only if you have heavy clay. Otherwise, backfill with the native soil to help the plant acclimate to your garden's conditions.
As you backfill, gently firm the soil with your hands or foot every few inches, working out air pockets. Do not stomp or compress too heavily; firm is not the same as compacted. Stop backfilling when the hole is full and the soil is level with the surrounding ground.
Step 6: Water Deeply
Water the newly planted Black Knight Butterfly Bush thoroughly. The goal is to settle the soil around the roots and eliminate air pockets. Water until the soil is moist several inches down. In spring, one deep watering is usually enough. In dry fall conditions, plan to water again within a few days.
Step 7: Apply Mulch
Spread 2 to 3 inches of wood chips or shredded bark around the base of the plant, staying 3 to 4 inches away from the stem. Mulch conserves soil moisture, moderates soil temperature, and suppresses weeds. Avoid piling mulch against the stem, which can trap moisture and invite rot.
Step 8: Fertilize (Spring Only)
If planting in spring, apply a light application of balanced fertilizer around the plant. Avoid excess nitrogen; it pushes foliage at the expense of blooms. Follow package directions and do not overapply. If planting in fall, skip fertilizer and let the plant focus on root development over winter.
Spacing Multiple Plants
If you are planting more than one Black Knight Butterfly Bush, space them 5 to 8 feet apart. This spacing accounts for mature width of 4 to 8 feet and allows air circulation, which helps prevent disease. Closer spacing makes for a denser effect in the first year or two but will require more aggressive pruning later to prevent crowding.
Tips for Success
Water regularly for the first four to six weeks after planting. The plant establishes best when soil stays consistently moist, not soggy. Once new growth appears, you can back off slightly. By midsummer, the plant is usually rooted in enough to tolerate drought, though regular water produces fuller growth.
Avoid pruning in the planting year except to remove any dead stems. Let the plant settle in and focus on root development. Next spring, you can cut it back hard to encourage a bushy form. Learn more about the best pruning and care techniques in the complete Black Knight Butterfly Bush care guide.
Do not be alarmed if growth seems slow the first few months. Roots develop first, and above-ground growth follows. By the second growing season, you should see vigorous growth of 3 to 5 feet per year as the plant establishes.
Common Planting Mistakes to Avoid
Planting Too Deep is the most frequent error. A plant set even an inch or two too deep can rot at the base, especially in heavy soil. Always plant at the same depth as it was in its nursery container.
Choosing a Shaded or Part-Shade Spot results in fewer flowers and spindly growth. Full sun is not optional for this plant.
Amending Excessively with compost or rich materials encourages lush foliage but reduces flowering. Average soil is ideal.
Planting in Winter outside zones 8 and 9. Roots cannot establish when the soil is frozen, and winter exposure stresses the plant needlessly.
Overwatering once the plant is established invites root rot. Water during drought; let natural rainfall handle maintenance moisture.
Planting in Poor Drainage without fixing the underlying problem. If water stands in your planting area after rain, amend the site or choose a different location.
What to Expect After Planting
A well-planted Black Knight Butterfly Bush will produce new shoots within a few weeks of spring planting. By midsummer of the first year, it often blooms, offering deep purple flowers with orange eyes. In zones 5 and 6, the plant may die back to the ground over winter and regrow as a smaller shrub. In zones 7 through 9, it usually overwinters as woody stems and leafs out in spring.
The plant reaches full mature size, 6 to 10 feet tall and 4 to 8 feet wide, in about two to three growing seasons, depending on how hard you prune and how much water it receives.
Quick Reference Planting Checklist
| Item | Details |
|---|---|
| Planting season | Spring after last frost or early fall |
| USDA zones | 5-9 |
| Sun requirement | At least 6-8 hours daily, full sun preferred |
| Soil type | Average, well-drained; tolerates poor soil |
| Soil pH | 6.0-7.5 |
| Hole depth | Same as root ball depth |
| Hole width | About twice the root ball diameter |
| Spacing (multiple plants) | 5-8 feet apart |
| Mulch depth | 2-3 inches, 3-4 inches away from stem |
| First-year water | Regular watering for 4-6 weeks, then drought-tolerant |
| Mature height | 6-10 feet |
| Mature width | 4-8 feet |
| First-year pruning | Remove dead stems only; prune hard next spring |